
It’s essential to have the correct RH technique in order to improve in your playing. First we must focus on the right hand and the proper technique associated with it.
Having proper technique will make playing much easier and allow you to play more challenging repertoire and exercises.
Fingers and Strings
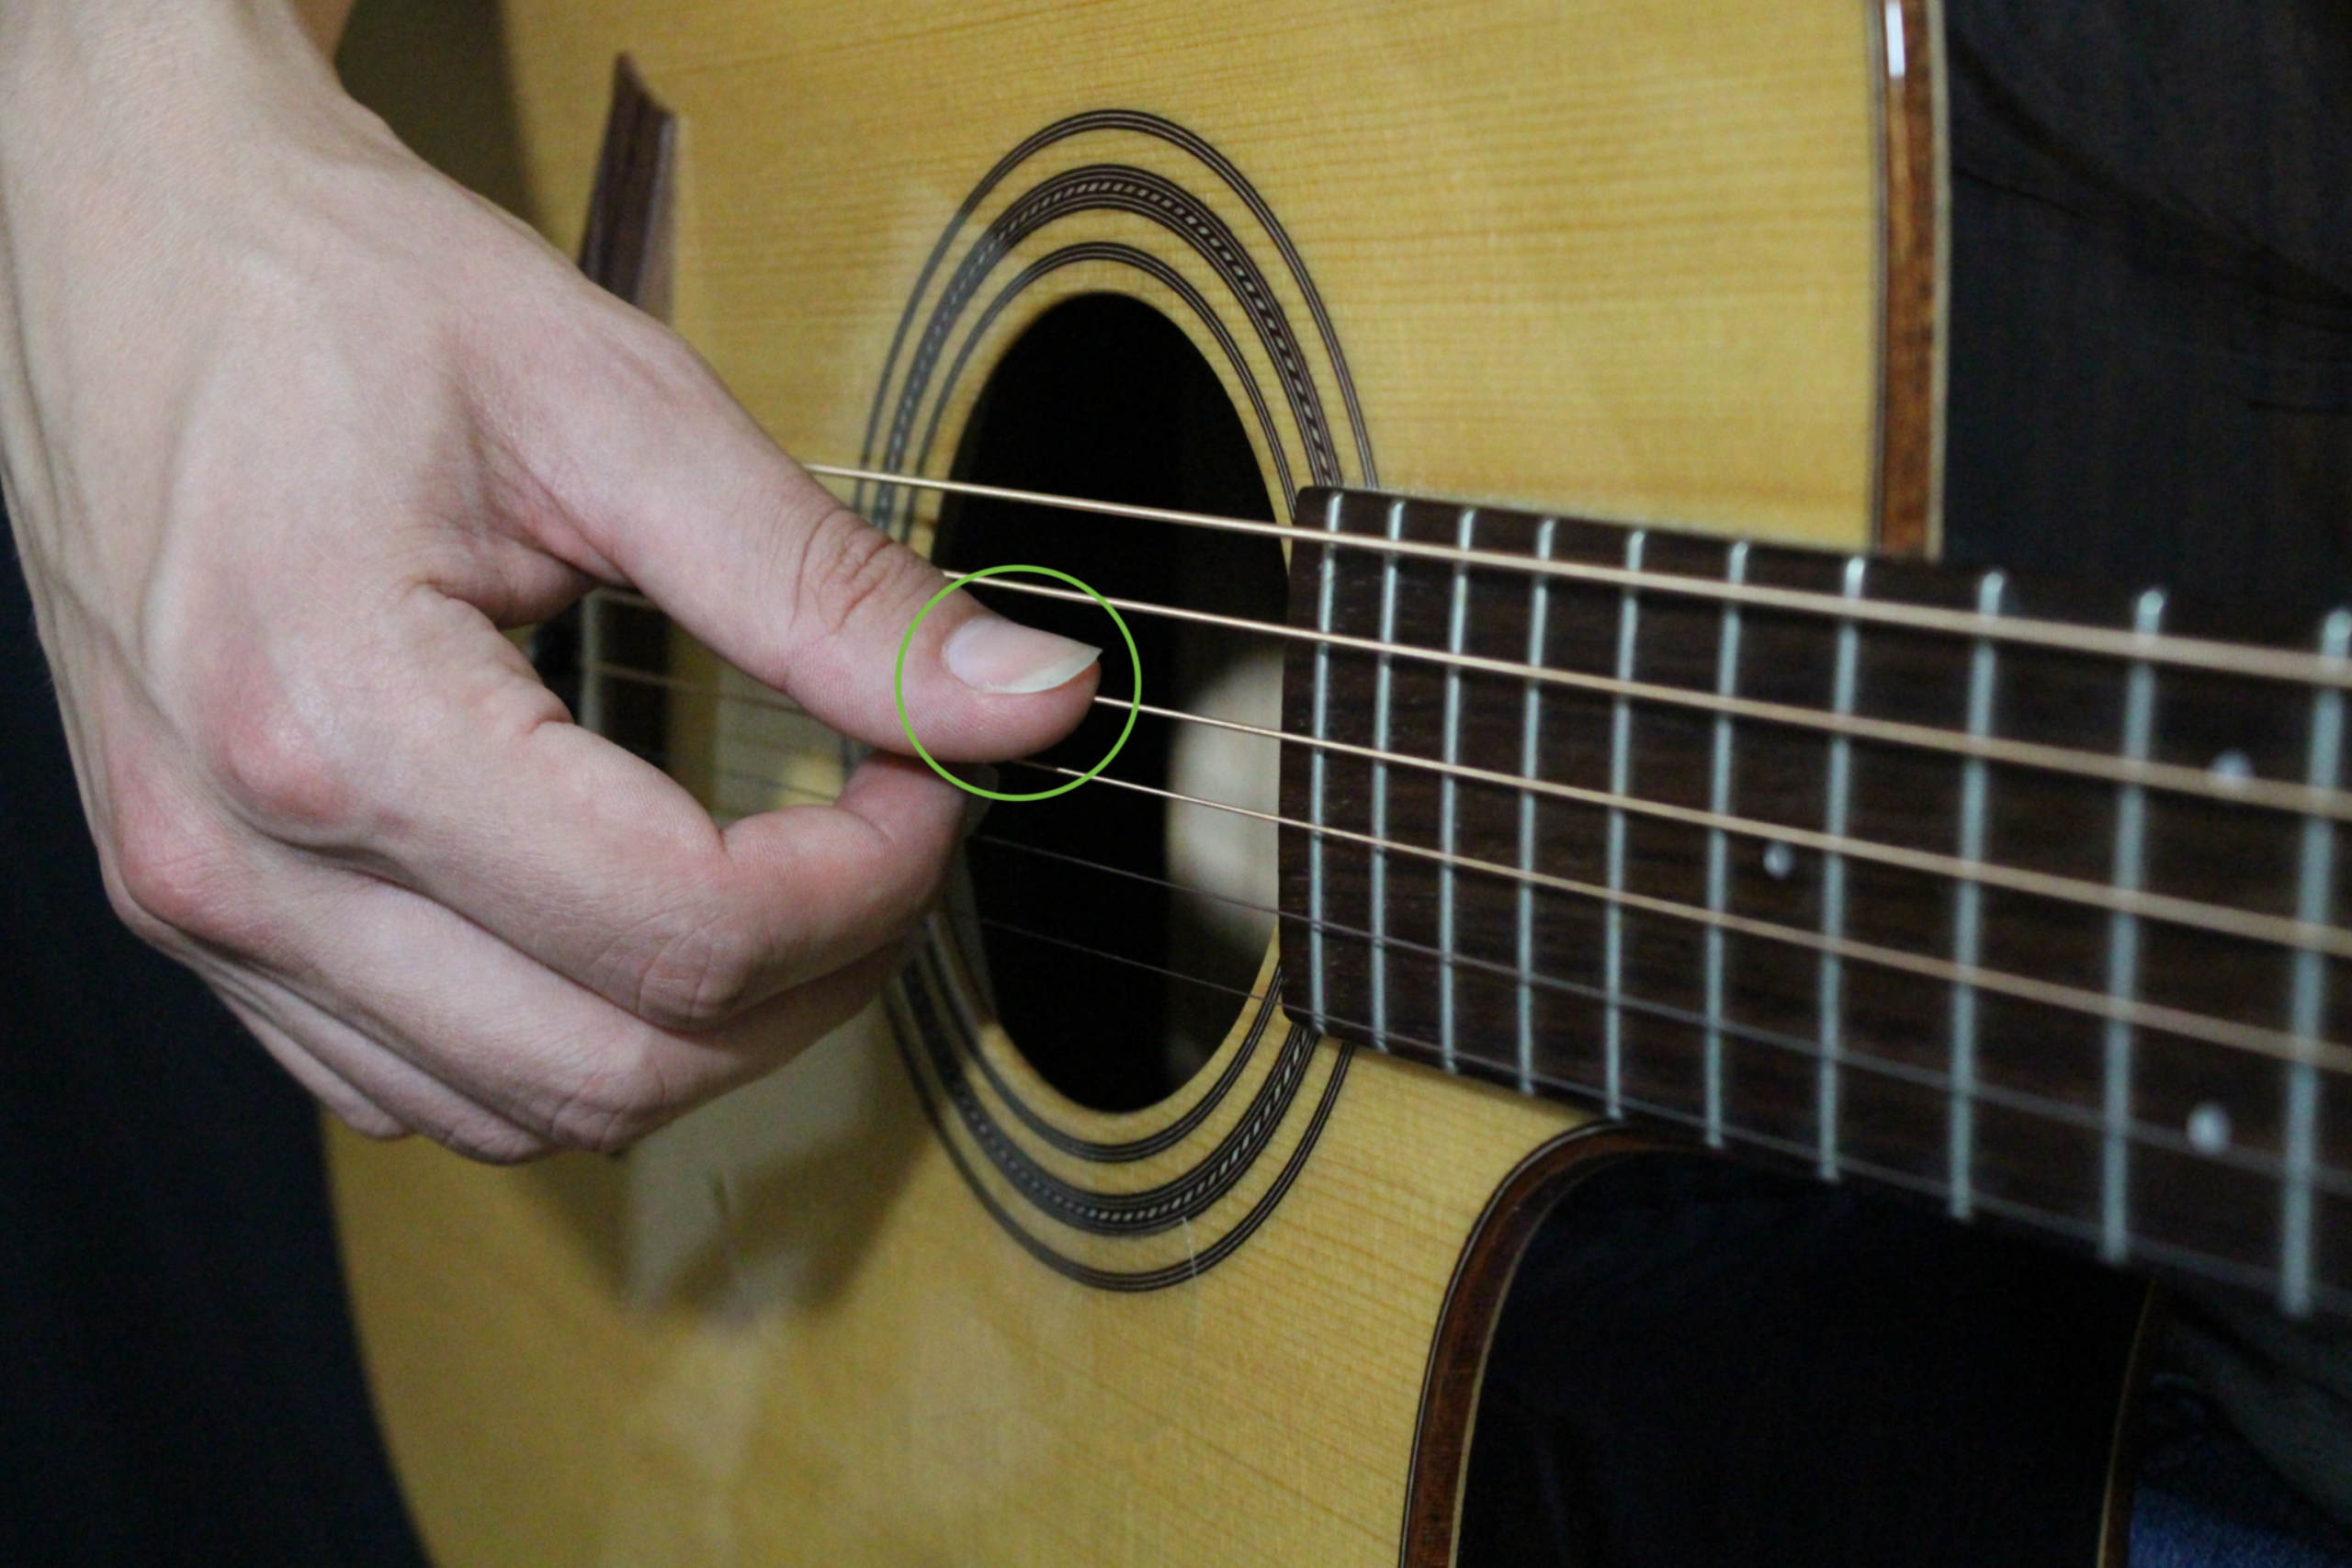
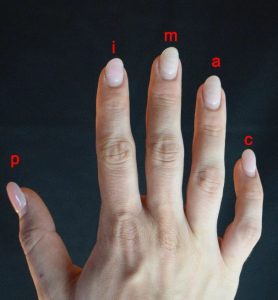
Thumb should be on the sixth, fifth, and fourth strings while the index middle ring will be on the third, second and first strings.
P = 6, 5, 4
I = 3
M = 2
A = 1
Right hand positioning
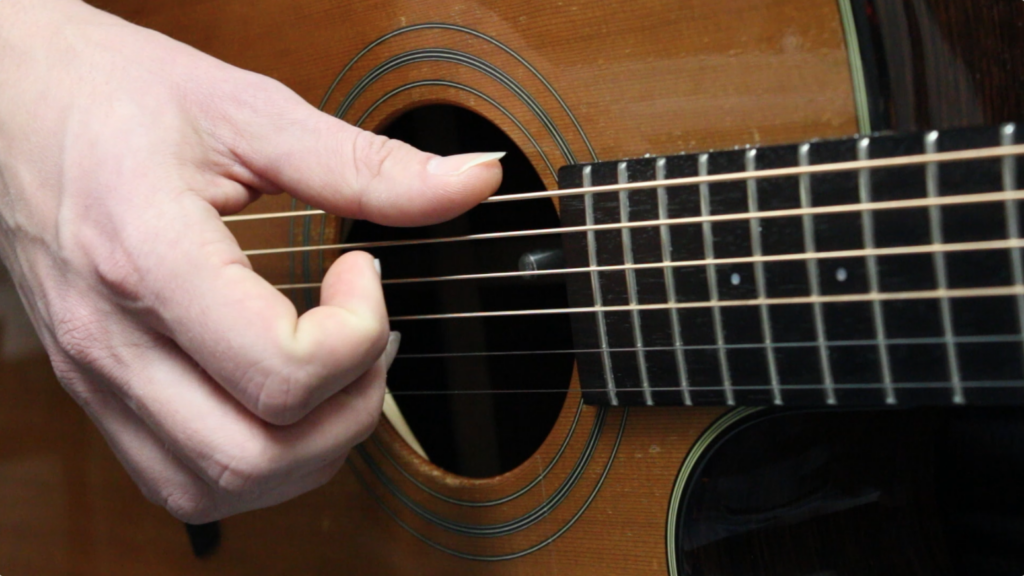
The right hand should be hovering over the sound hole in the middle. You can also place it back slightly as well for a different timbre. Make sure the right hand is relaxed while hanging over the strings.
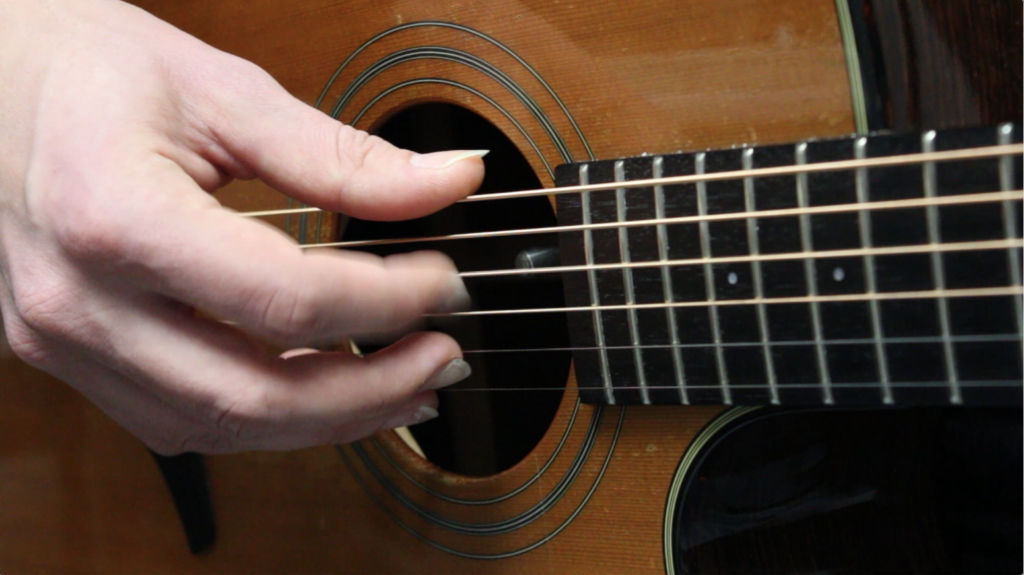
Attack motion
The attack should be a motion of the fingers coming in towards the palm. Prevent yourself from plucking up, or a clawing attack, which will cause the strings to be bright and thin.
Here is a video on beginner finger picking patterns I recommend:
Practice this with your own songs, or solely to work on your technique in order to improve your playing.
Learn more about technique through our FREE Fingerstyle Workbook!
FOLLOW US ON
Get our FREE Fingerstyle Workbook!
RELATED BLOG POSTS

Introduction to Fingerstyle Guitar: Beginner-Friendly Lessons
Learning fingerstyle guitar is a rewarding journey, and it all starts with the basics. If you’re just starting, understanding fingerstyle techniques will set the foundation for your musical growth. This post will guide you through the core elements of fingerstyle guitar, including hand positioning and beginner-friendly patterns.
What is Fingerstyle Guitar? Fingerstyle guitar involves plucking the strings with your fingers, rather than using a pick. This allows for more nuanced control over the melody and rhythm, creating intricate, beautiful sounds. A typical fingerstyle player uses their thumb for bass notes (the lower strings) and their fingers (index, middle, and sometimes ring) for melody and harmony (higher strings).
Proper Hand Positioning To get started, ensure your hand is relaxed, with your thumb hovering near the lower strings (E, A, D) and your fingers over the higher strings (G, B, E). Your thumb should alternate between bass notes, while your fingers pick out the melody and harmony.
Basic Fingerpicking Patterns The simplest pattern to start with is the Travis picking pattern, where your thumb alternates between bass strings (E, A, D), and your fingers pick out the higher strings. Start with this pattern and gradually build up to more complex variations.
The Evolution of Fingerstyle Guitar: From Classic to Contemporary
Fingerstyle guitar has evolved through the years. Here’s how it developed:
1. Classical Fingerstyle
Pioneered by Andrés Segovia, classical fingerstyle involved intricate melodies and complex finger movements.
2. Blues Fingerstyle
Blues artists like Robert Johnson and Mississippi John Hurt brought fingerstyle to the forefront with iconic sounds.
3. Modern Fingerstyle
Artists like Tommy Emmanuel and Andy McKee have popularized modern fingerstyle with fast, percussive techniques.
Fingerstyle continues to evolve, blending tradition with innovation to create exciting new sounds.
How to Use Fingerstyle Guitar to Accompany Your Voice
Fingerstyle guitar can enhance your vocal performance. Here’s how to combine both effectively:
1. Keep the Rhythm Steady
Use your thumb to maintain a strong bass while your fingers pick the melody, allowing you to focus on singing.
2. Focus on Simple Patterns
Start with basic patterns like Travis picking, and add complexity once you’re comfortable.
3. Add Harmonies
Once you’ve mastered the basics, complement your voice with harmonies and chord embellishments.
4. Play with Dynamics
Use dynamics to mirror the song’s emotional flow—soft for verses, louder for choruses.
0 Comments