
It’s essential to have the correct RH technique in order to improve in your playing. First we must focus on the right hand and the proper technique associated with it.
Having proper technique will make playing much easier and allow you to play more challenging repertoire and exercises.
Fingers and Strings
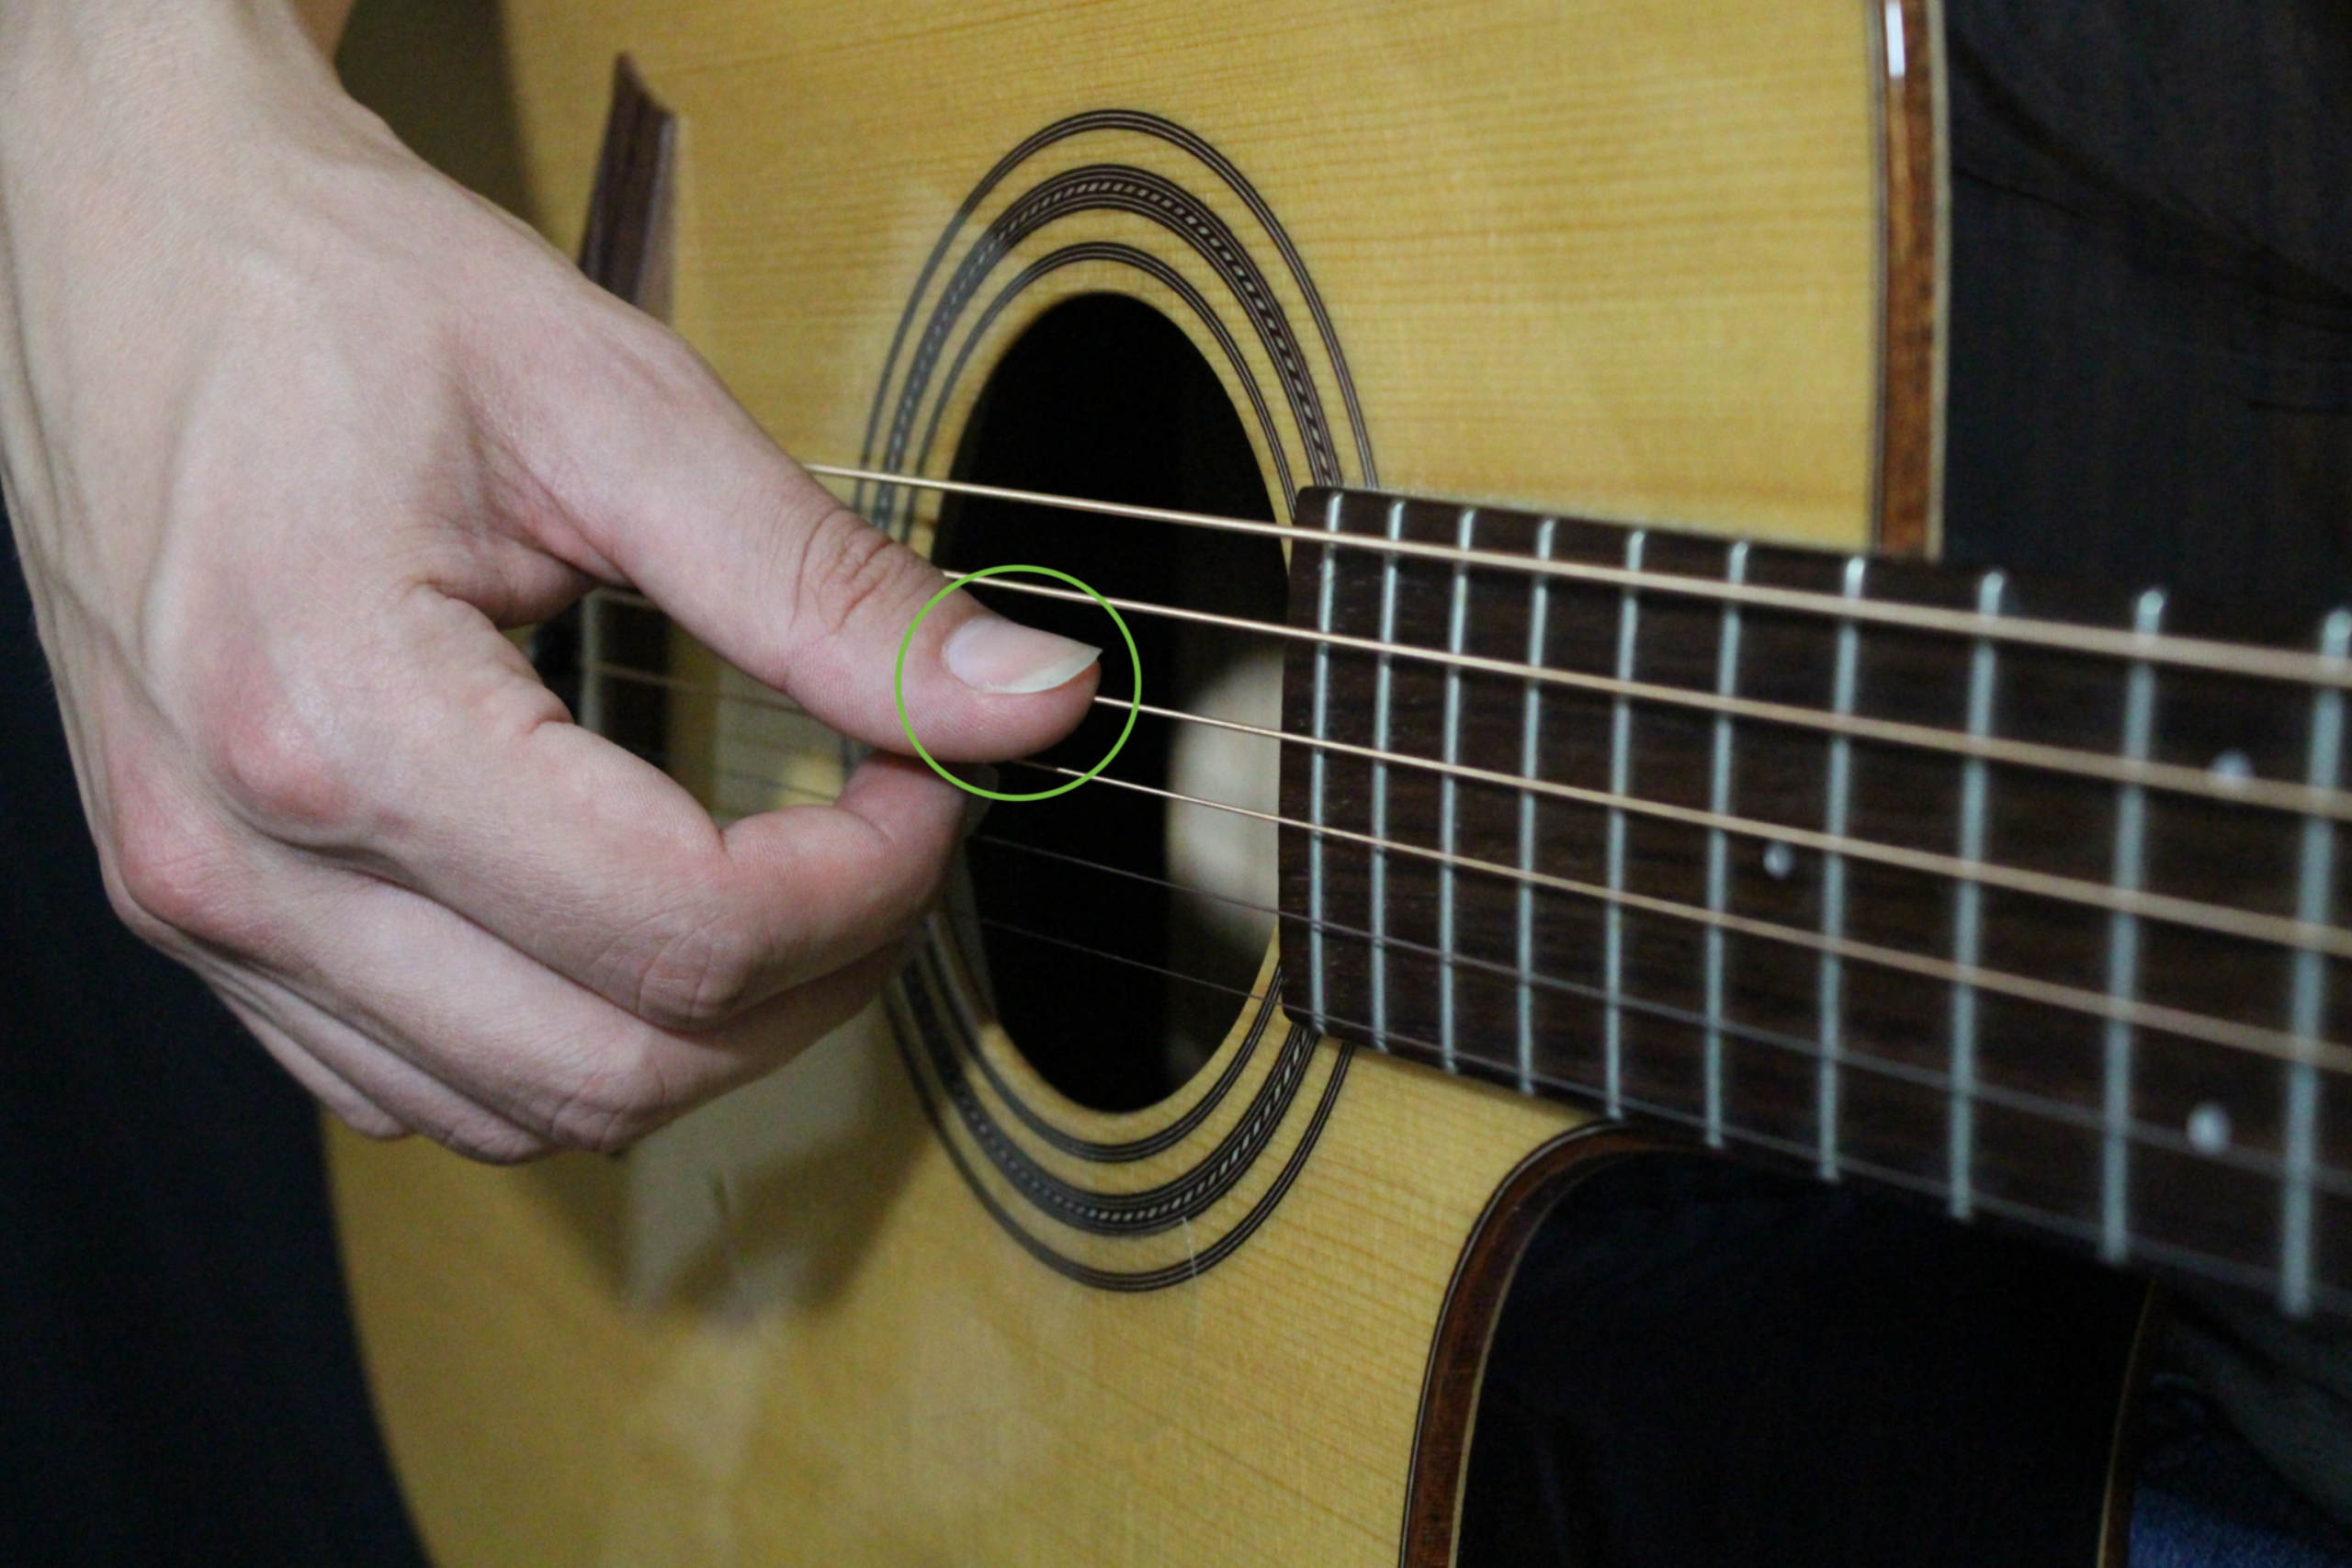
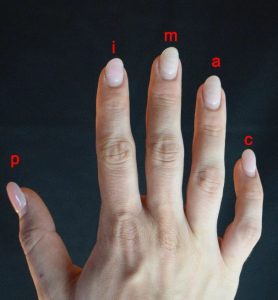
Thumb should be on the sixth, fifth, and fourth strings while the index middle ring will be on the third, second and first strings.
P = 6, 5, 4
I = 3
M = 2
A = 1
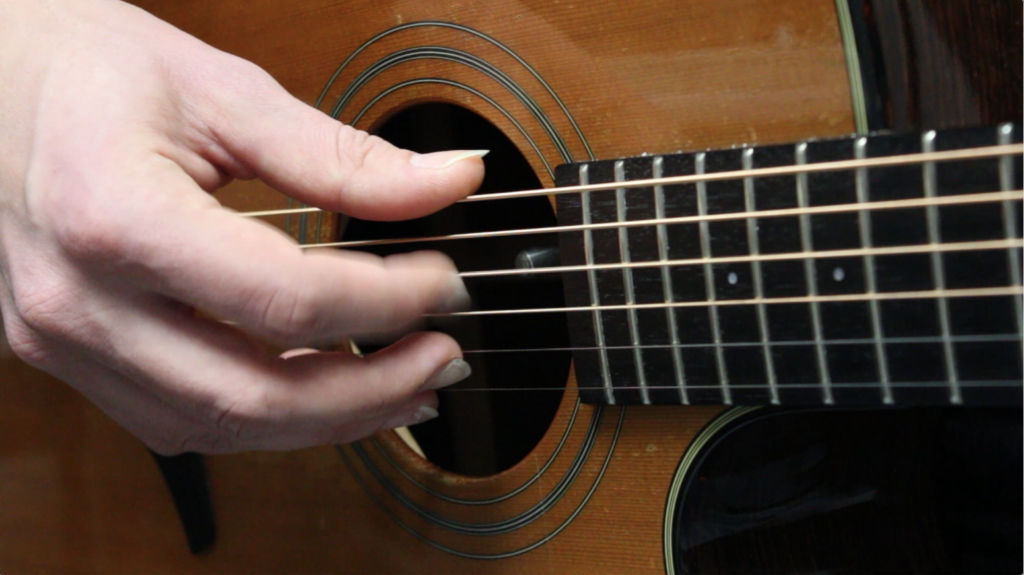
Right hand positioning
The right hand should be hovering over the sound hole in the middle. You can also place it back slightly as well for a different timbre. Make sure the right hand is relaxed while hanging over the strings.
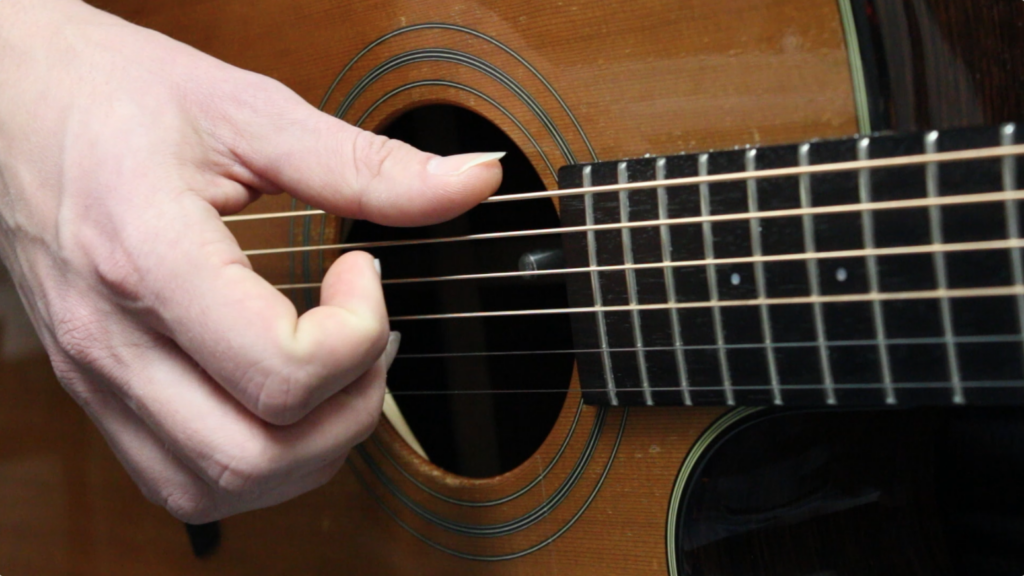
Attack motion
The attack should be a motion of the fingers coming in towards the palm. Prevent yourself from plucking up, or a clawing attack, which will cause the strings to be bright and thin.
Here is a video on beginner finger picking patterns I recommend:
Practice this with your own songs, or solely to work on your technique in order to improve your playing.
Learn more about technique through our FREE Fingerstyle Workbook!
FOLLOW US ON
Get our FREE Fingerstyle Workbook!
RELATED BLOG POSTS

Exploring Alternate Tunings for Fingerstyle Guitar
Alternate tunings unlock new sounds and make fingerstyle easier. Here are a few popular ones:
1. Drop D Tuning (DADGBE)
Perfect for power chords and open melodies, often used in rock and blues.
2. Open G Tuning (DGDGBD)
Great for folk and blues, creating a rich, open sound.
3. DADGAD Tuning
Popular in Celtic music, this tuning provides a resonant, atmospheric sound perfect for fingerstyle.
How to Create Your Own Fingerstyle Guitar Arrangements
Creating your own fingerstyle arrangements is incredibly rewarding. Here’s how you can start:
1. Start with a Simple Chord Progression
Pick a chord progression you love and begin with bass notes using your thumb while your fingers pick out the melody.
2. Add Melody to the Bass
Once you’re comfortable with the basic chords, add embellishments to the melody.
3. Use Fingerpicking Patterns
Incorporate your learned patterns, experimenting with alternating thumb strokes and fingerpicking.
4. Add a Personal Touch
Bring your arrangement to life by adding hammer-ons, pull-offs, and unique flourishes.
How to Master Travis Picking for Fingerstyle Guitar
Travis picking is essential for any serious fingerstyle player. Here’s how you can master this iconic technique:
1. The Basics of Travis Picking
Travis picking involves alternating the thumb for bass notes while the fingers pluck the melody. Start with the following pattern:
Thumb (P) on 6th string (E)
Index (I) on 3rd string (G)
Thumb (P) on 4th string (D)
Middle (M) on 2nd string (B)
2. Add Chords and Melody
Once comfortable, incorporate simple chords and build complexity as you progress.
3. Gradual Speed Increase
Start slow and use a metronome to increase your speed as you get more comfortable with the pattern.
0 Comments